Content
Unlocking the Power of Stable Diffusion 3.5: A Step-by-Step Guide
Unlocking the Power of Stable Diffusion 3.5: A Step-by-Step Guide
Unlocking the Power of Stable Diffusion 3.5: A Step-by-Step Guide
Danny Roman
December 8, 2024

Ready to dive into the world of generative AI? In this blog, we'll guide you through setting up Stable Diffusion 3.5 on a cloud GPU service with ease. Say goodbye to complicated installations and hello to stunning image creation!
🚀 Introduction to Stable Diffusion 3.5
Welcome to the future of image generation! Stable Diffusion 3.5 is not just another model; it’s a game changer. This open-source text-to-image powerhouse allows you to create stunning visuals from simple prompts. Imagine typing a phrase and watching your artistic vision come to life in seconds. It’s like having a digital brush at your fingertips!
And the best part? It’s completely free! While you can install it on your local machine, using a cloud GPU service like Vultr makes the process smoother and faster. No more waiting for your personal computer to catch up. Let’s dive into why using cloud GPU services is the way to go!
☁️ Why Use Cloud GPU Services?
Why struggle with hardware limitations when you can leverage cloud technology? Cloud GPU services offer power, flexibility, and convenience. Here’s why you should consider them:
Performance: Cloud GPUs provide the horsepower needed for complex computations. You’re tapping into high-end graphics cards without the hefty price tag.
Scalability: Easily scale your resources up or down based on your needs. Whether you’re generating a single image or running multiple processes, cloud services adapt to your workload.
Accessibility: Access your projects from anywhere. No need to be tied to a specific machine or location; all you need is an internet connection!
Cost-Effective: Pay only for what you use. With services like Vultr, you can start with minimal investment and scale as your needs grow.
Ready to get started? Let’s jump into setting up your cloud GPU instance with Vultr!
🛠️ Getting Started with Vultr
If you haven’t signed up for Vultr yet, now’s the time! It’s quick, easy, and you can score some free credits to kickstart your journey. Follow these steps:
Go to the Vultr website and create an account. It’s free!
During signup, enter the code Berman300 to snag $300 in credits for your first month.
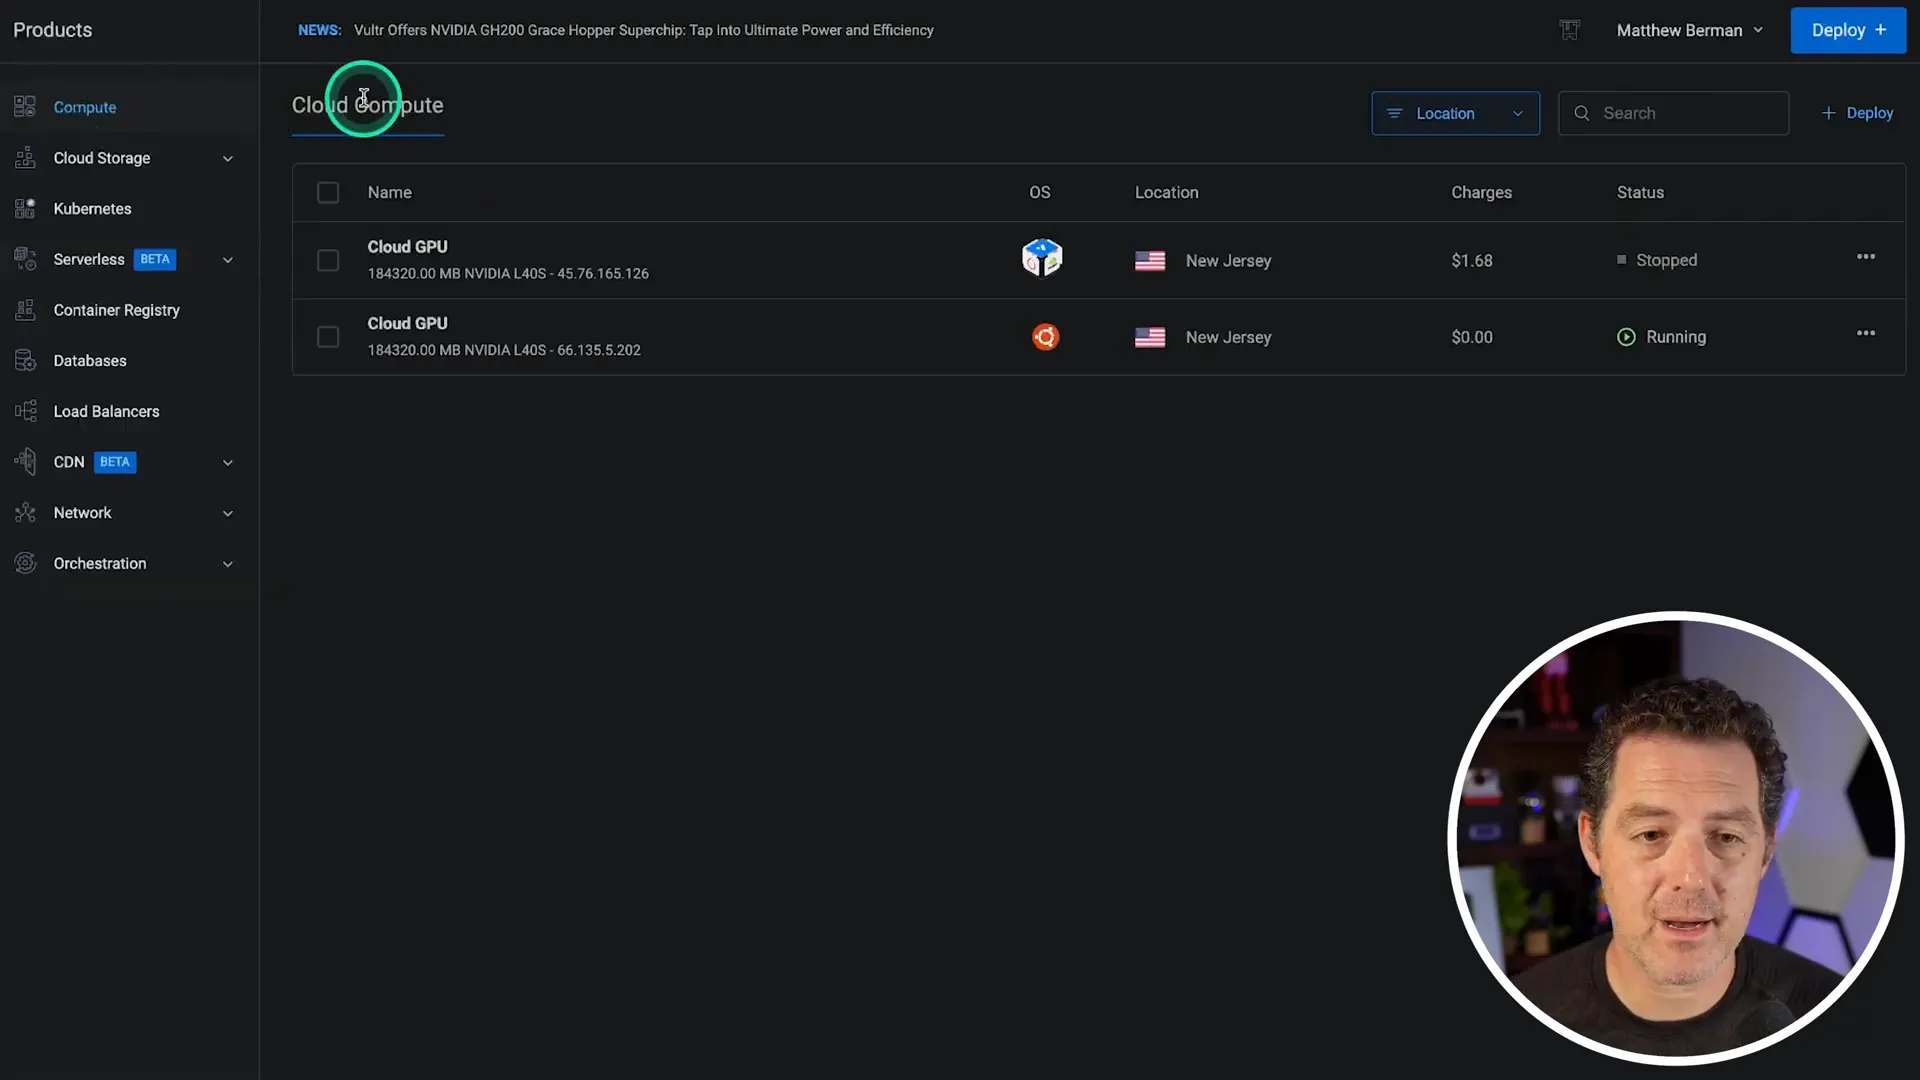
Once logged in, navigate to the Products tab on the left side.
🌐 Deploying Your Cloud GPU Instance
Now comes the exciting part: deploying your GPU instance! Here’s how to do it:
Click on Cloud Compute at the top.
Hit the Deploy button to start a new instance.
Select Cloud GPU as the type. Choose a location that’s closest to you for better performance.
Pick the Ubuntu operating system and scroll down to choose the plan. The NVIDIA L40s is perfect for Stable Diffusion 3.5.
🔐 SSH into Your Server
With your instance up and running, it’s time to connect! SSH is your gateway to accessing your cloud server. Here’s how:
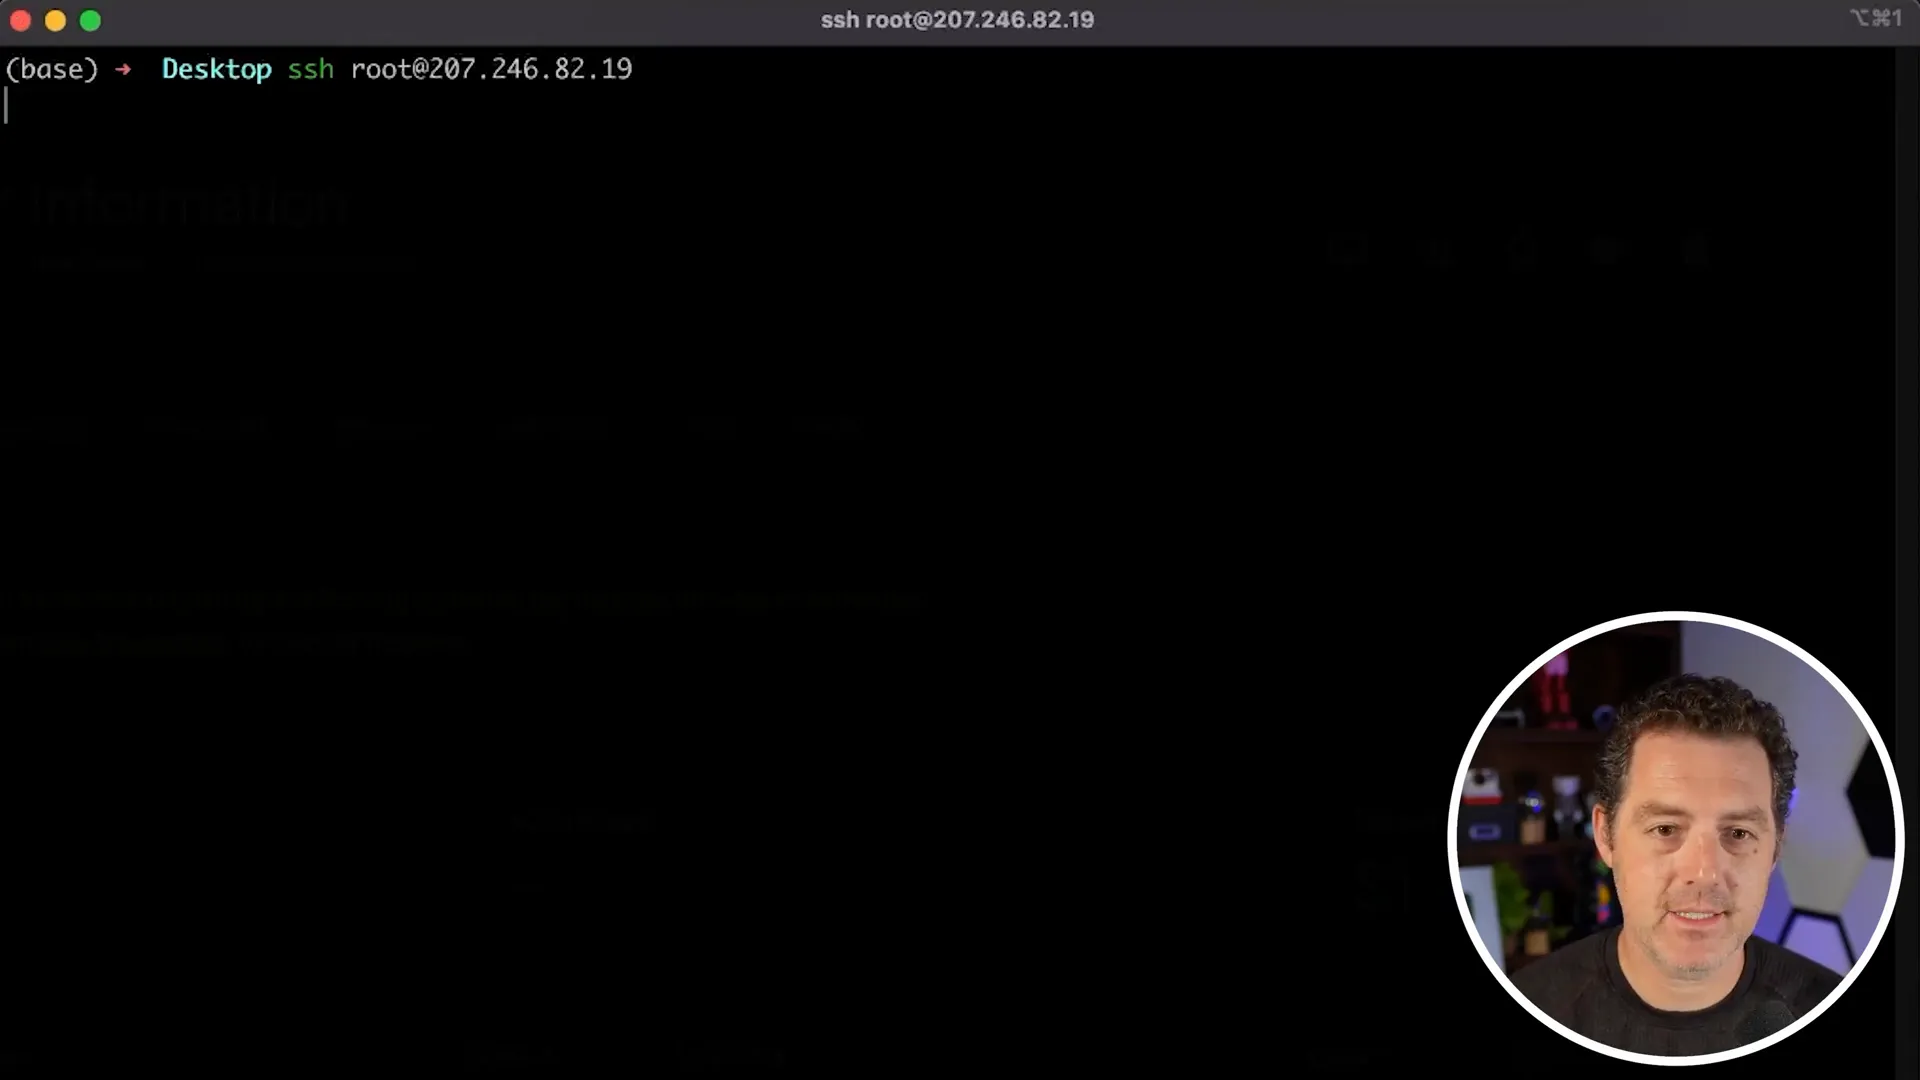
Open your terminal.
Copy the IP address from your Vultr dashboard.
Type ssh root@your-ip-address and hit Enter.
When prompted for a password, grab it from your Vultr account and paste it in.
📥 Downloading the Docker Image
Next up, we’re diving into Docker. It's the magic tool that will help us run Stable Diffusion seamlessly. Time to pull the Docker image!
In your SSH terminal, type docker pull comfyui and hit Enter.
Wait for the download to complete. If you’ve done it before, no worries, you can skip this step!
⚙️ Running the Docker Image
Now that you have the Docker image, it’s time to run it. This is where the real fun begins!
Create a storage folder by typing mkdir -p storage in your terminal.
Run the Docker image with the command provided in your instructions.
Once that’s done, you’re almost there! Just a few more steps to go.
🔑 Installing the Hugging Face CLI
To access all the cool features of Stable Diffusion, you’ll need to install the Hugging Face CLI. This is your ticket to download the model files!
Type pip install -u huggingface_hub and hit Enter.
Once installed, log in using huggingface-cli login.
📂 Running the Final Setup
You're almost there! After installing, you’ll need to download the model files. Follow these final steps:
Generate a token on Hugging Face and copy it.
Enter the token in your terminal when prompted.
Now, run the command to download the model files.
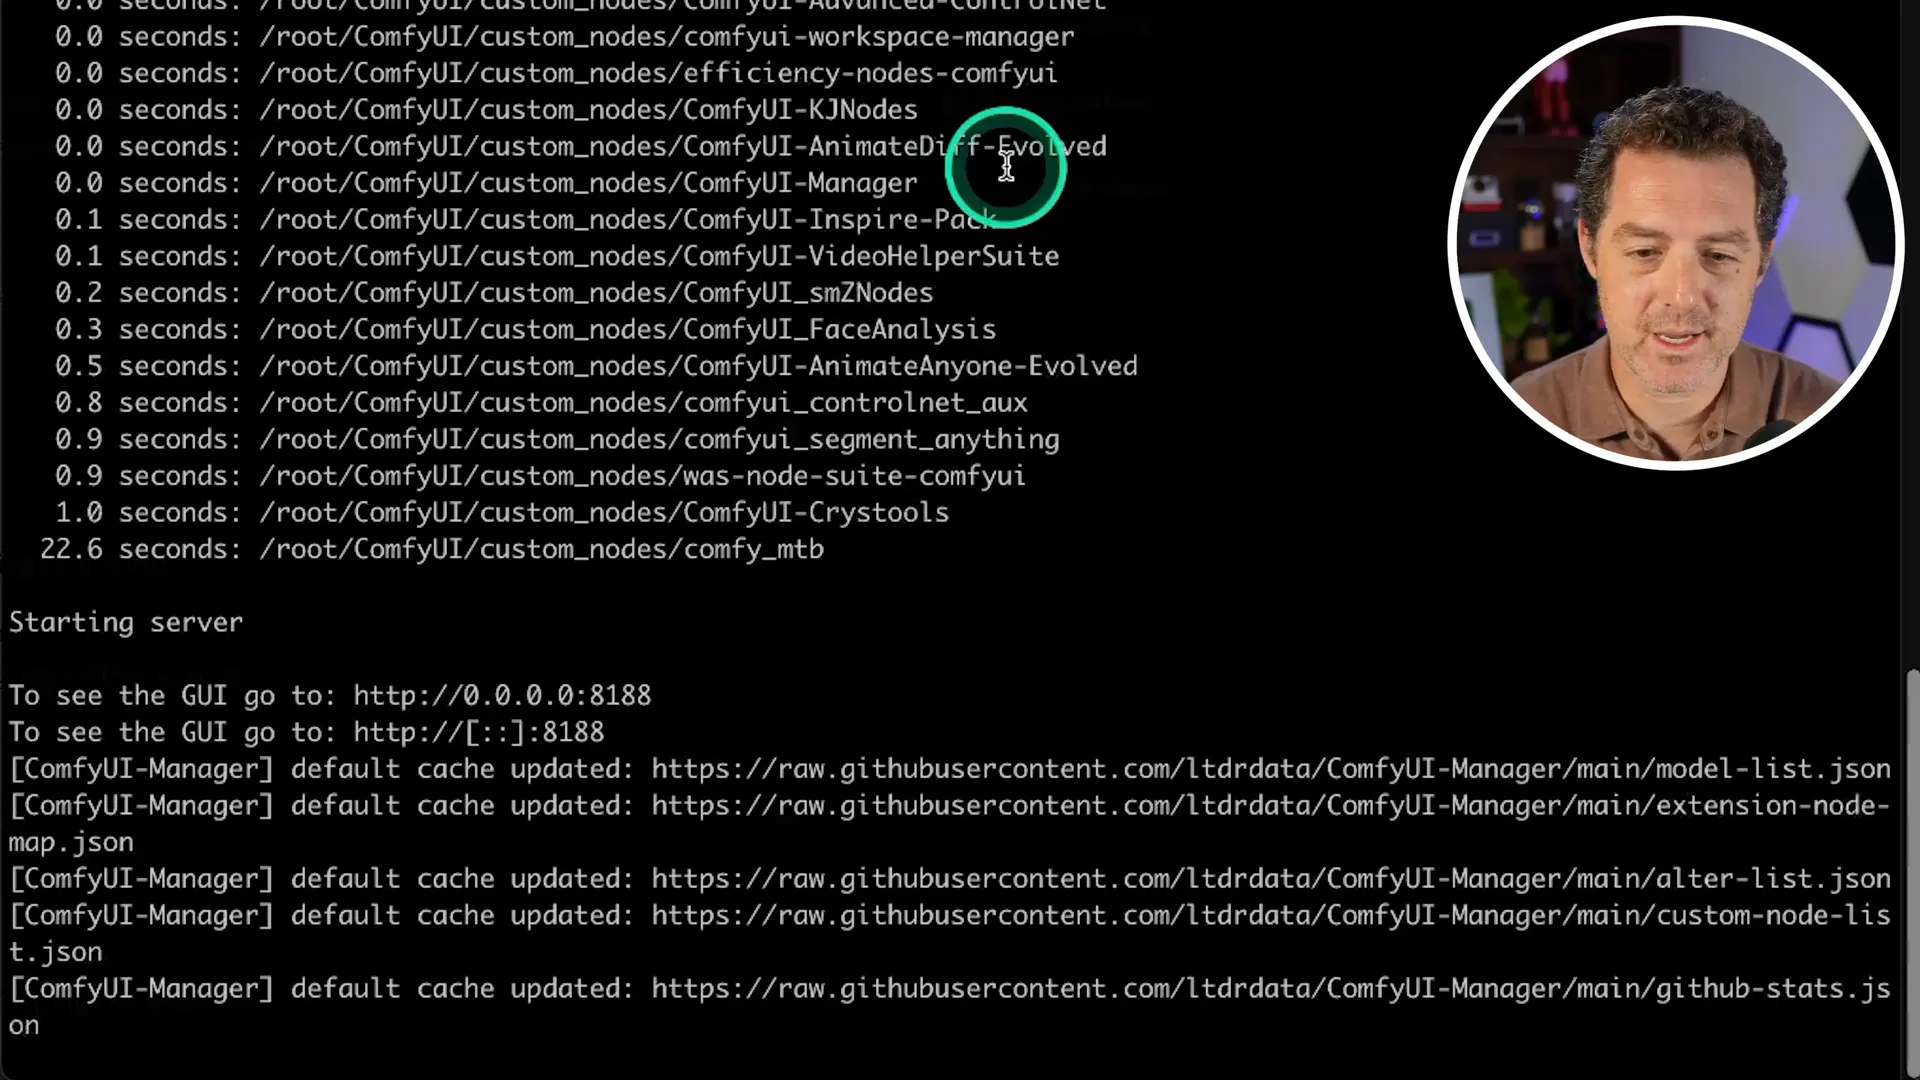
Once everything is set up, you can access the Comfy UI by entering your server’s IP address followed by :8188 in your web browser.
Let’s get creative with Stable Diffusion 3.5!
🔐 Setting Up the Firewall
Now that your Docker image is running, it’s time to set up the firewall. This step is crucial to allow traffic through to the Comfy UI. Don't worry, it's a simple command!
In your SSH terminal, type ufw allow 8188 and hit Enter.
You should see a confirmation that the rule has been added. This opens up port 8188 for incoming connections.
💻 Installing Hugging Face CLI
The Hugging Face CLI is your golden ticket to accessing all the models you need. Installing it is a breeze!
Run the command pip install -u huggingface_hub in your terminal.
Once installed, log in with huggingface-cli login.
Logging in will prompt you to generate a token, which we’ll tackle next!

🔑 Generating and Using Your Token
Now, let’s generate that all-important token. This token is like your VIP pass to access the models!
Go to huggingface.co/settings/tokens in your browser.
Create a new token, naming it something like comfy_ui_vulture, and set it as a read token.
Copy the token once it’s generated and return to your terminal.
When prompted, paste your token and hit Enter.

🌐 Accessing Comfy UI
With your token securely stored, it’s time to access the Comfy UI. This is where the magic happens!
Grab the IP address from your server details in Vultr.
Open your web browser and enter your-ip-address:8188.
Hit Enter, and voilà! Comfy UI should load up beautifully.

⚙️ Final Steps and Testing Outputs
Almost done! Now, let’s ensure everything is functioning as it should. We’ll move the downloaded files into the correct storage folder.
Use the command to move the files into your storage folder.
Once done, refresh the Comfy UI page.
Try out a sample prompt, like “A Bulldog writing a person”, and hit Queue Prompt.
Watch as your creative idea comes to life in seconds! Not quite what you envisioned? No worries—let’s try something playful like “Cat with dragon wings” next!

🎉 Conclusion and Special Offers
Congratulations! You’ve successfully set up Stable Diffusion 3.5 on your cloud GPU. Now unleash your creativity and experiment with various prompts and settings.
Don’t forget to check out Vultr’s limited-time promo offer on the GH200 plan—just $2.99 an hour, which is a sweet 25% off! Perfect for all your image-generating needs.
If you found this guide helpful, drop a like, subscribe, and keep creating amazing images with Stable Diffusion!
Ready to dive into the world of generative AI? In this blog, we'll guide you through setting up Stable Diffusion 3.5 on a cloud GPU service with ease. Say goodbye to complicated installations and hello to stunning image creation!
🚀 Introduction to Stable Diffusion 3.5
Welcome to the future of image generation! Stable Diffusion 3.5 is not just another model; it’s a game changer. This open-source text-to-image powerhouse allows you to create stunning visuals from simple prompts. Imagine typing a phrase and watching your artistic vision come to life in seconds. It’s like having a digital brush at your fingertips!
And the best part? It’s completely free! While you can install it on your local machine, using a cloud GPU service like Vultr makes the process smoother and faster. No more waiting for your personal computer to catch up. Let’s dive into why using cloud GPU services is the way to go!
☁️ Why Use Cloud GPU Services?
Why struggle with hardware limitations when you can leverage cloud technology? Cloud GPU services offer power, flexibility, and convenience. Here’s why you should consider them:
Performance: Cloud GPUs provide the horsepower needed for complex computations. You’re tapping into high-end graphics cards without the hefty price tag.
Scalability: Easily scale your resources up or down based on your needs. Whether you’re generating a single image or running multiple processes, cloud services adapt to your workload.
Accessibility: Access your projects from anywhere. No need to be tied to a specific machine or location; all you need is an internet connection!
Cost-Effective: Pay only for what you use. With services like Vultr, you can start with minimal investment and scale as your needs grow.
Ready to get started? Let’s jump into setting up your cloud GPU instance with Vultr!
🛠️ Getting Started with Vultr
If you haven’t signed up for Vultr yet, now’s the time! It’s quick, easy, and you can score some free credits to kickstart your journey. Follow these steps:
Go to the Vultr website and create an account. It’s free!
During signup, enter the code Berman300 to snag $300 in credits for your first month.
Once logged in, navigate to the Products tab on the left side.
🌐 Deploying Your Cloud GPU Instance
Now comes the exciting part: deploying your GPU instance! Here’s how to do it:
Click on Cloud Compute at the top.
Hit the Deploy button to start a new instance.
Select Cloud GPU as the type. Choose a location that’s closest to you for better performance.
Pick the Ubuntu operating system and scroll down to choose the plan. The NVIDIA L40s is perfect for Stable Diffusion 3.5.
🔐 SSH into Your Server
With your instance up and running, it’s time to connect! SSH is your gateway to accessing your cloud server. Here’s how:
Open your terminal.
Copy the IP address from your Vultr dashboard.
Type ssh root@your-ip-address and hit Enter.
When prompted for a password, grab it from your Vultr account and paste it in.
📥 Downloading the Docker Image
Next up, we’re diving into Docker. It's the magic tool that will help us run Stable Diffusion seamlessly. Time to pull the Docker image!
In your SSH terminal, type docker pull comfyui and hit Enter.
Wait for the download to complete. If you’ve done it before, no worries, you can skip this step!
⚙️ Running the Docker Image
Now that you have the Docker image, it’s time to run it. This is where the real fun begins!
Create a storage folder by typing mkdir -p storage in your terminal.
Run the Docker image with the command provided in your instructions.
Once that’s done, you’re almost there! Just a few more steps to go.
🔑 Installing the Hugging Face CLI
To access all the cool features of Stable Diffusion, you’ll need to install the Hugging Face CLI. This is your ticket to download the model files!
Type pip install -u huggingface_hub and hit Enter.
Once installed, log in using huggingface-cli login.
📂 Running the Final Setup
You're almost there! After installing, you’ll need to download the model files. Follow these final steps:
Generate a token on Hugging Face and copy it.
Enter the token in your terminal when prompted.
Now, run the command to download the model files.
Once everything is set up, you can access the Comfy UI by entering your server’s IP address followed by :8188 in your web browser.
Let’s get creative with Stable Diffusion 3.5!
🔐 Setting Up the Firewall
Now that your Docker image is running, it’s time to set up the firewall. This step is crucial to allow traffic through to the Comfy UI. Don't worry, it's a simple command!
In your SSH terminal, type ufw allow 8188 and hit Enter.
You should see a confirmation that the rule has been added. This opens up port 8188 for incoming connections.
💻 Installing Hugging Face CLI
The Hugging Face CLI is your golden ticket to accessing all the models you need. Installing it is a breeze!
Run the command pip install -u huggingface_hub in your terminal.
Once installed, log in with huggingface-cli login.
Logging in will prompt you to generate a token, which we’ll tackle next!
🔑 Generating and Using Your Token
Now, let’s generate that all-important token. This token is like your VIP pass to access the models!
Go to huggingface.co/settings/tokens in your browser.
Create a new token, naming it something like comfy_ui_vulture, and set it as a read token.
Copy the token once it’s generated and return to your terminal.
When prompted, paste your token and hit Enter.
🌐 Accessing Comfy UI
With your token securely stored, it’s time to access the Comfy UI. This is where the magic happens!
Grab the IP address from your server details in Vultr.
Open your web browser and enter your-ip-address:8188.
Hit Enter, and voilà! Comfy UI should load up beautifully.
⚙️ Final Steps and Testing Outputs
Almost done! Now, let’s ensure everything is functioning as it should. We’ll move the downloaded files into the correct storage folder.
Use the command to move the files into your storage folder.
Once done, refresh the Comfy UI page.
Try out a sample prompt, like “A Bulldog writing a person”, and hit Queue Prompt.
Watch as your creative idea comes to life in seconds! Not quite what you envisioned? No worries—let’s try something playful like “Cat with dragon wings” next!
🎉 Conclusion and Special Offers
Congratulations! You’ve successfully set up Stable Diffusion 3.5 on your cloud GPU. Now unleash your creativity and experiment with various prompts and settings.
Don’t forget to check out Vultr’s limited-time promo offer on the GH200 plan—just $2.99 an hour, which is a sweet 25% off! Perfect for all your image-generating needs.
If you found this guide helpful, drop a like, subscribe, and keep creating amazing images with Stable Diffusion!